I've been playing around with ESPHome and have been pretty impressed with how easy it is to turn inexpensive, Wi-Fi-enabled ESP32 boards into proper Home Assistant devices.
In Building a Smarter Home With Home Assistant, I wrote about getting Home Assistant running in the homelab and discovering what it could already see around the house. This is the next part of that adventure: making my own devices visible alongside the televisions, air conditioning and solar system.
There is something satisfying about taking a small board on the workbench, describing what its buttons, lights, sensors and display should do, and then finding all of those controls on the same phone dashboard as the rest of the house.
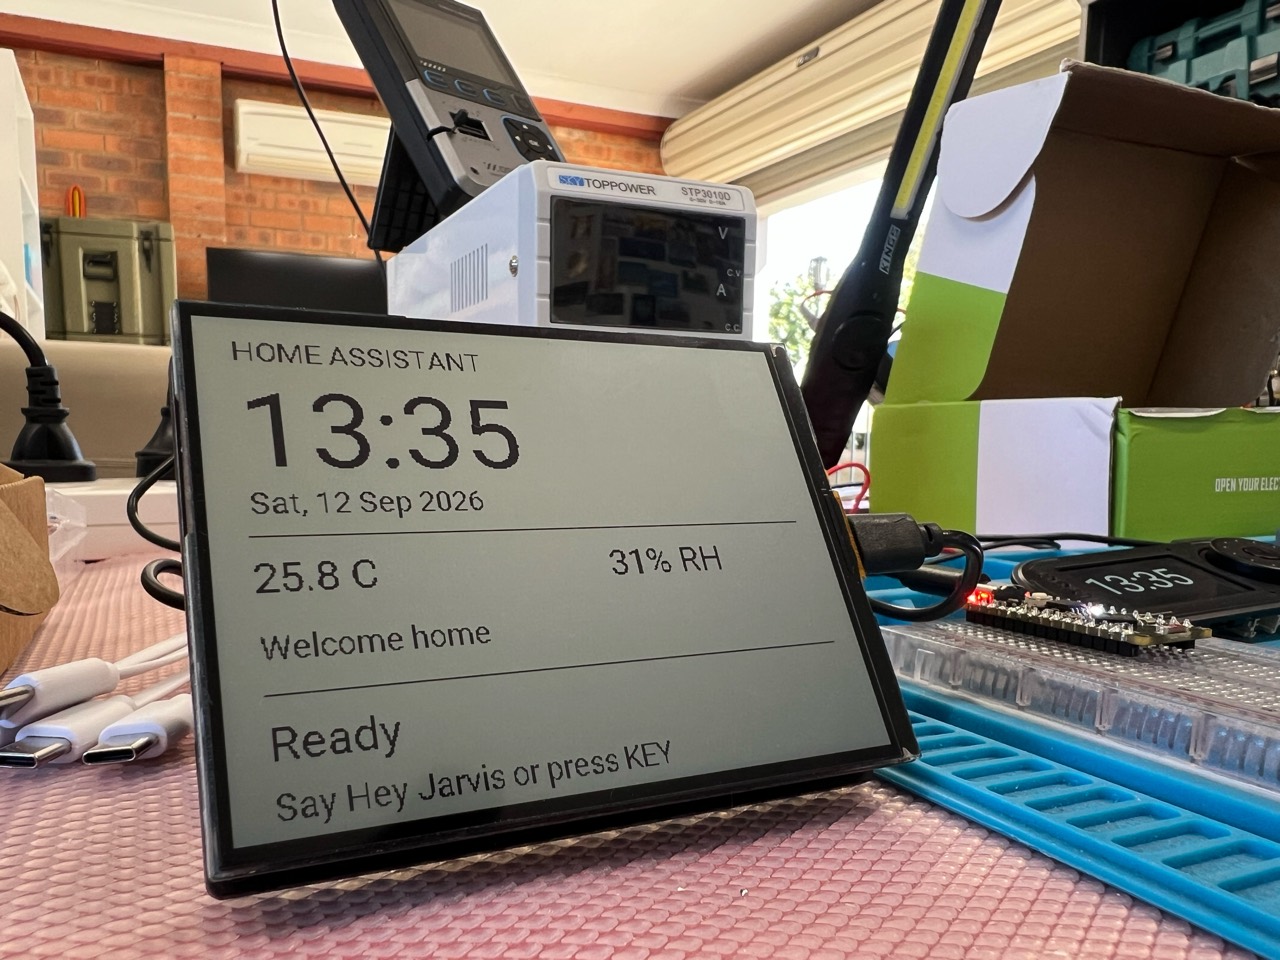
The Waveshare display on the bench, with the T-Embed and Nano board beside it.
What ESPHome changes
ESPHome lets me describe a device's features in YAML and builds the firmware around that configuration. I do not have to write the Wi-Fi connection, Home Assistant protocol, over-the-air update service and entity plumbing from scratch every time I want to expose a button or sensor.
The Device Builder workflow creates the initial configuration, installs the firmware over USB and then handles later updates over Wi-Fi. With the native API enabled, Home Assistant normally discovers the board and offers to add it under Settings → Devices & services.
My container setup
I ran Home Assistant and ESPHome on the same Linux host using this
docker-compose.yml:services: homeassistant: container_name: homeassistant image: "ghcr.io/home-assistant/home-assistant:stable" volumes: - /opt/home-assistant/config:/config - /etc/localtime:/etc/localtime:ro - /run/dbus:/run/dbus:ro restart: unless-stopped stop_grace_period: 60s privileged: true network_mode: host environment: TZ: Australia/Sydney esphome: container_name: esphome image: ghcr.io/esphome/esphome:stable volumes: - /opt/home-assistant/esphome-config:/config - /etc/localtime:/etc/localtime:ro restart: unless-stopped network_mode: host
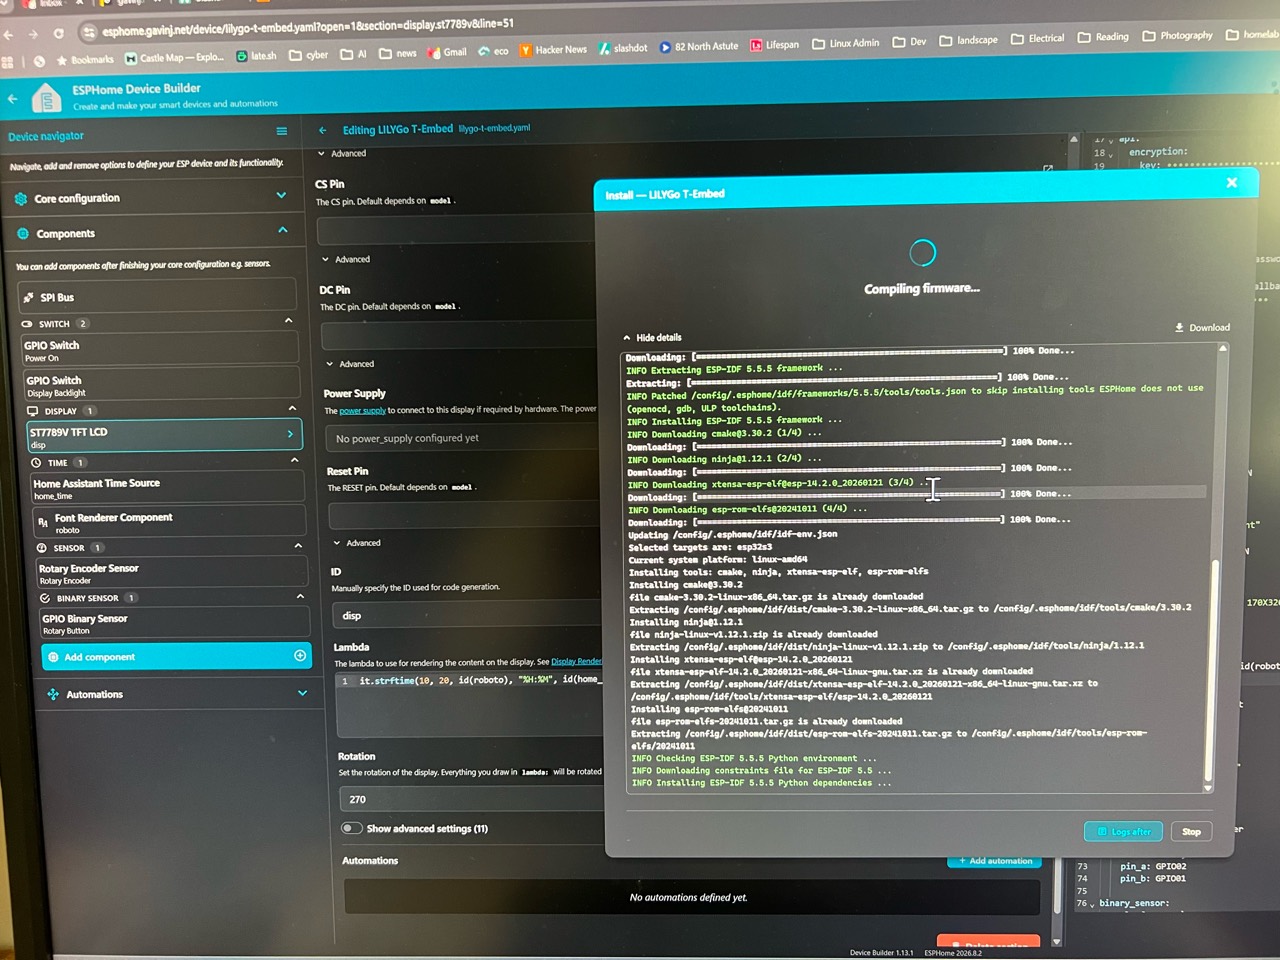
Compiling the T-Embed configuration in ESPHome Device Builder.
The easy part is the common plumbing. The interesting part is working out the hardware: which GPIO drives the backlight, how a rotary encoder is wired, which display driver is required, or how a microphone and speaker share an audio bus. That is where each project became its own little puzzle.
Project one: LILYGO T-Embed
The LILYGO T-Embed is a compact ESP32-S3 device with a 170 × 320 colour display, rotary encoder, push button and a few useful expansion options. It looks more like the beginning of a finished product than a loose development board.
My first goal was deliberately modest: put a large clock on the screen and expose the useful controls to Home Assistant. The display gets its time from Home Assistant, while separate entities control power and the display backlight. The rotary control and its button are defined internally, ready for the next stage of the project without cluttering the dashboard yet.
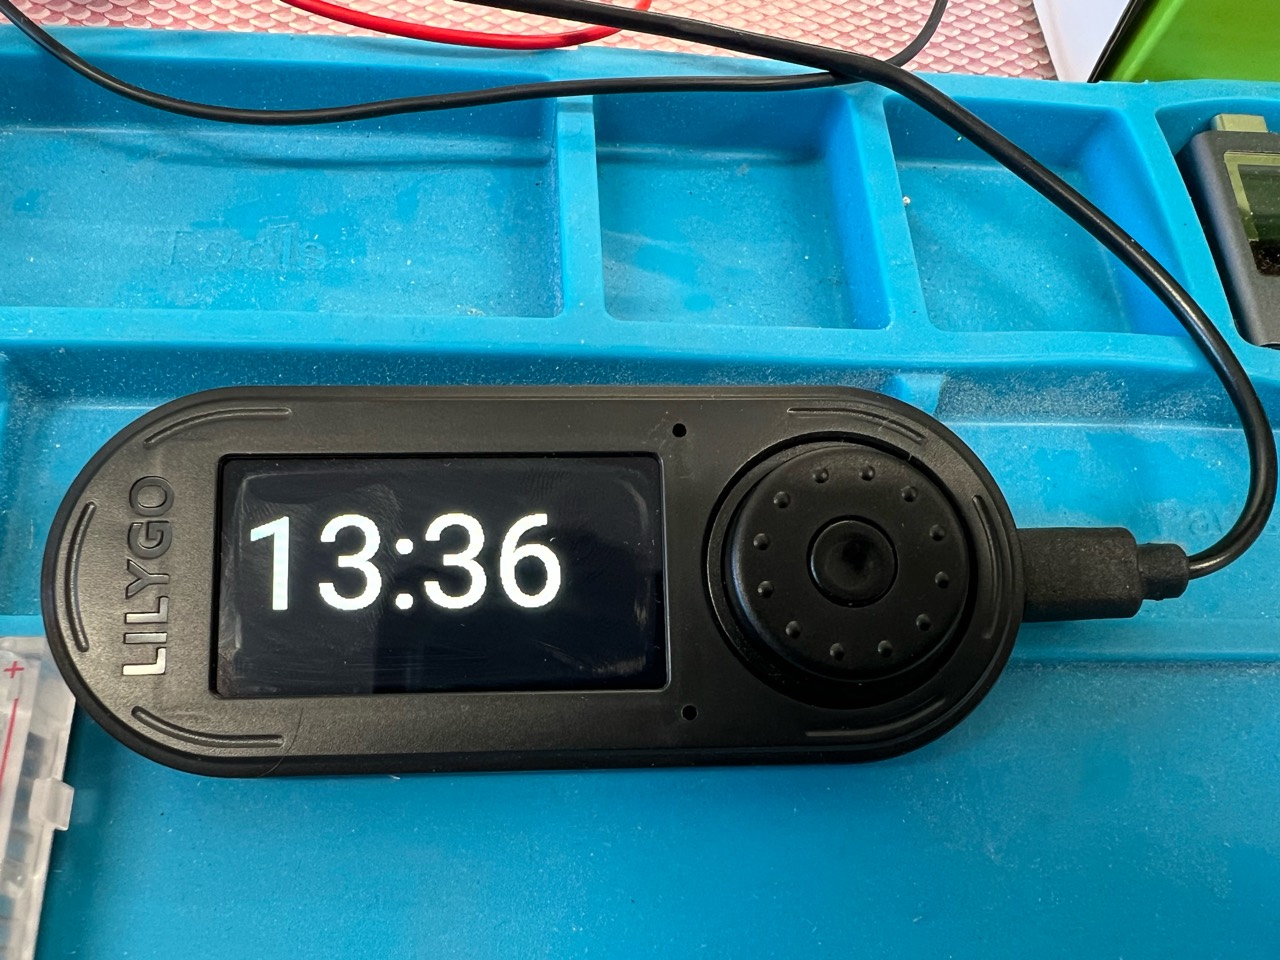
Once the case came apart, the ESP32-S3 module, display connection and small internal connectors made the device feel much less mysterious. This is one of the things I enjoy about inexpensive development hardware: opening it tends to answer as many questions as reading the product page.
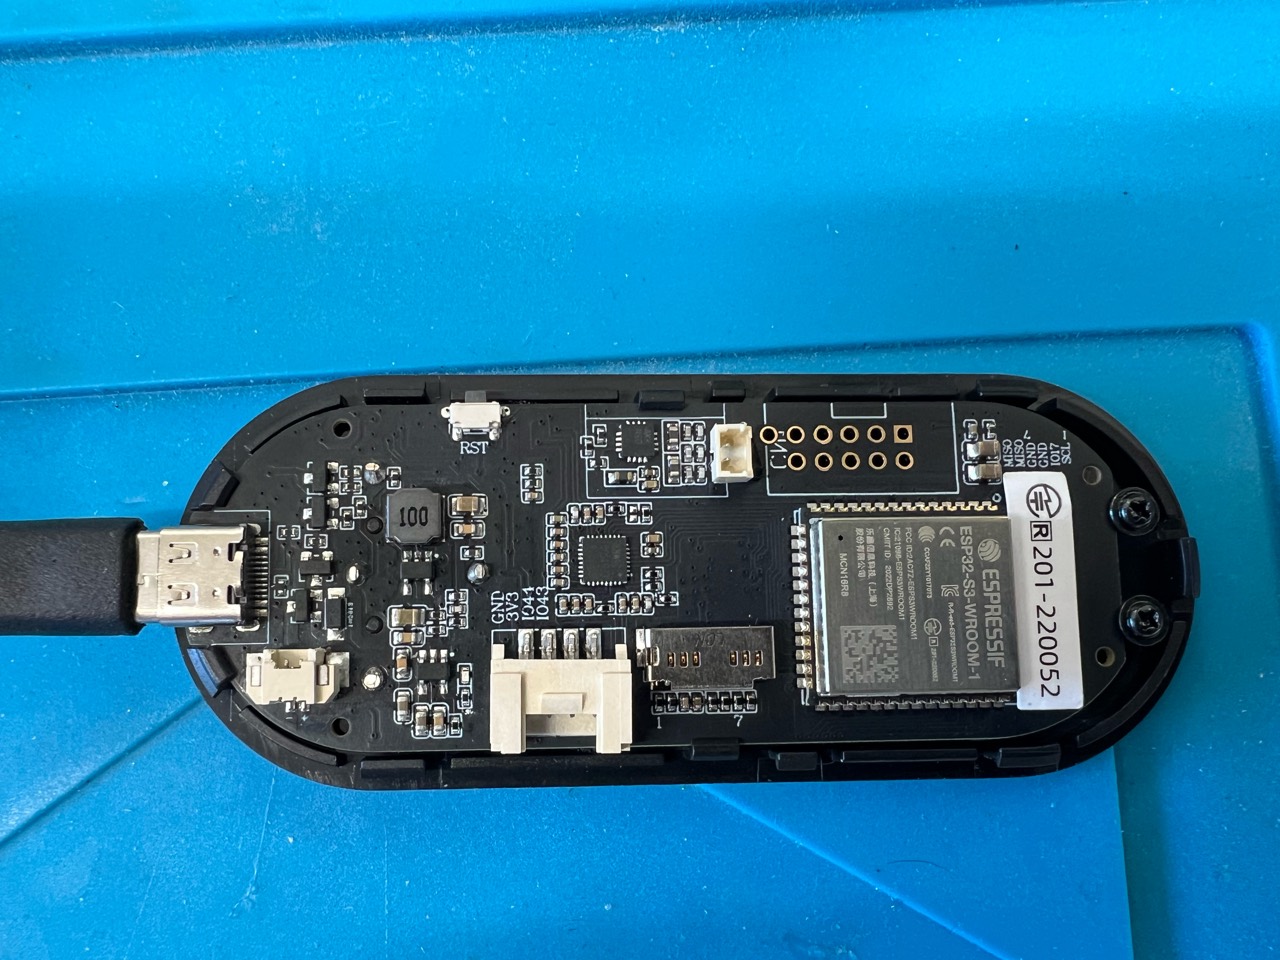
The same device with the back removed. The ESP32-S3 module is visible on the right.
The complete, sanitised LILYGO T-Embed ESPHome configuration is available in my electronics-lessons repository.
Project two: Nano ESP32
The Nano ESP32 is the smallest of the three projects and the quickest demonstration of the full control path. It sits neatly on a breadboard and exposes its onboard amber LED as a switch, plus its onboard RGB LED as a colour light.
Tap the control in Home Assistant and a real light changes on the board. It is a tiny result, but it proves that discovery, state and control are all working before I attach anything more complicated.
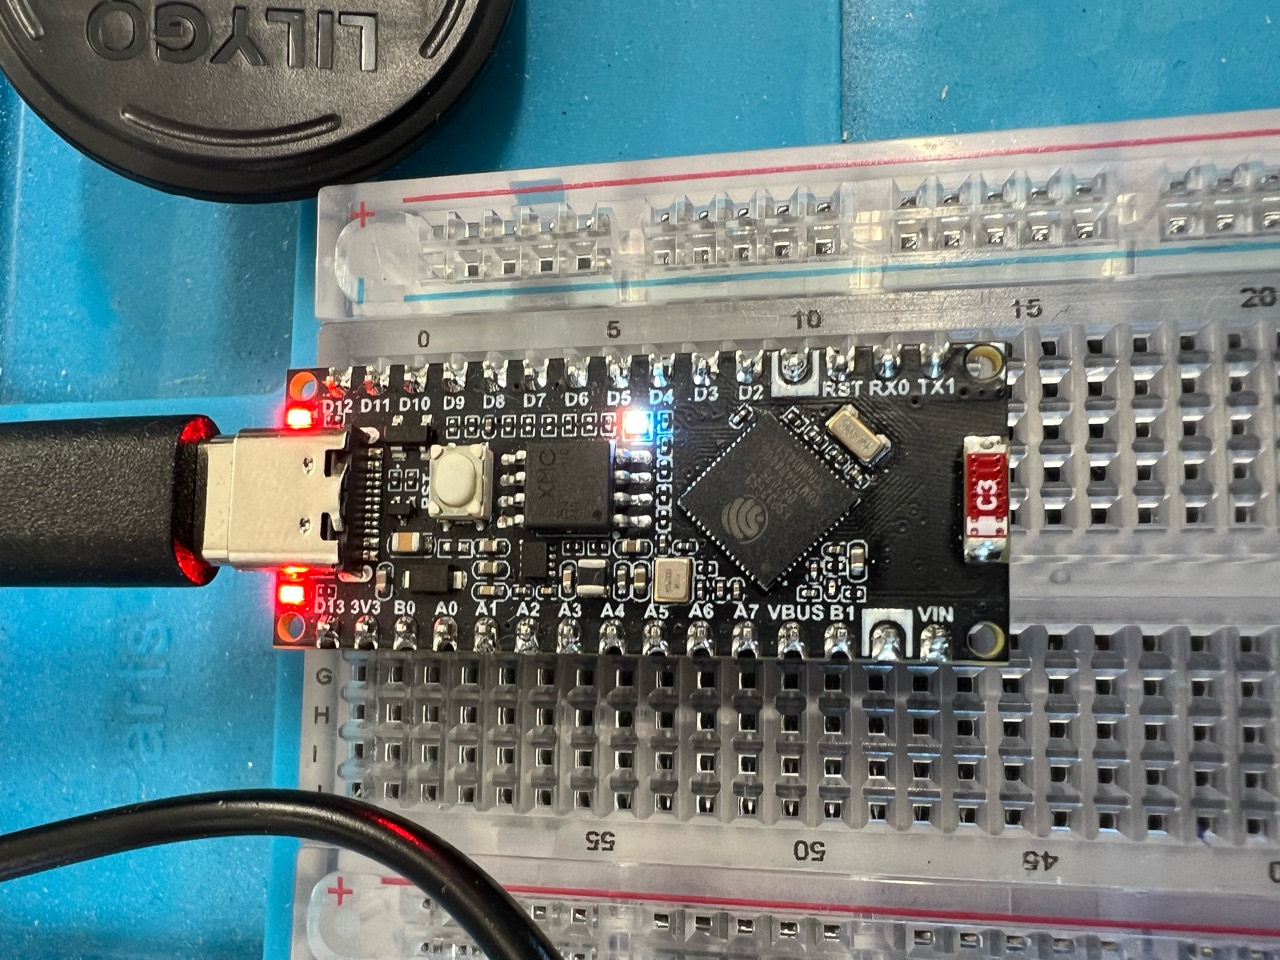
The RGB LED was the only small trap. Its colour channels are active-low, so each PWM output needs to be inverted in the configuration. Without that detail, the behaviour is the opposite of what the brightness values suggest.
The Nano ESP32 ESPHome configuration includes both the amber switch and RGB light.
Project three: Waveshare reflective LCD
The Waveshare ESP32-S3-RLCD-4.2 is the most ambitious and most interesting device of the three. Its 400 × 300 reflective monochrome display looks a little like electronic paper, but it behaves as a reflective LCD. It is clear in ambient light and can update much more readily than the e-paper displays I had been considering for a room dashboard.
The board also has a temperature and humidity sensor, two microphones, a speaker, two buttons, an RTC, microSD storage and a battery holder. That is an unusual amount of hardware in one inexpensive package.
My current dashboard shows:
- time and date from Home Assistant
- room temperature and humidity from the onboard SHTC3 sensor
- a short message that can be edited from Home Assistant
- the current voice-assistant state
- a reminder to say “Hey Jarvis” or press the physical KEY button
The audio side turns the board into a Home Assistant Assist satellite. It can listen for the wake word, pass speech to Home Assistant, play the response through its speaker and show whether it is listening, thinking, speaking or waiting to reconnect.
Waveshare's ESPHome walkthrough for this board gave me the hardware map. The display itself uses a community ST7305 component pinned to a known revision in my configuration, while the microphone, speaker and codecs use ESPHome's audio components.
The full Waveshare RLCD ESPHome configuration is the longest of the three, but it is also the best example of how far a YAML configuration can take one small board.
One area, three useful experiments
I assigned all three devices to the Study area. Home Assistant now presents the T-Embed controls, Nano LEDs and Waveshare display, environmental readings and voice features together.
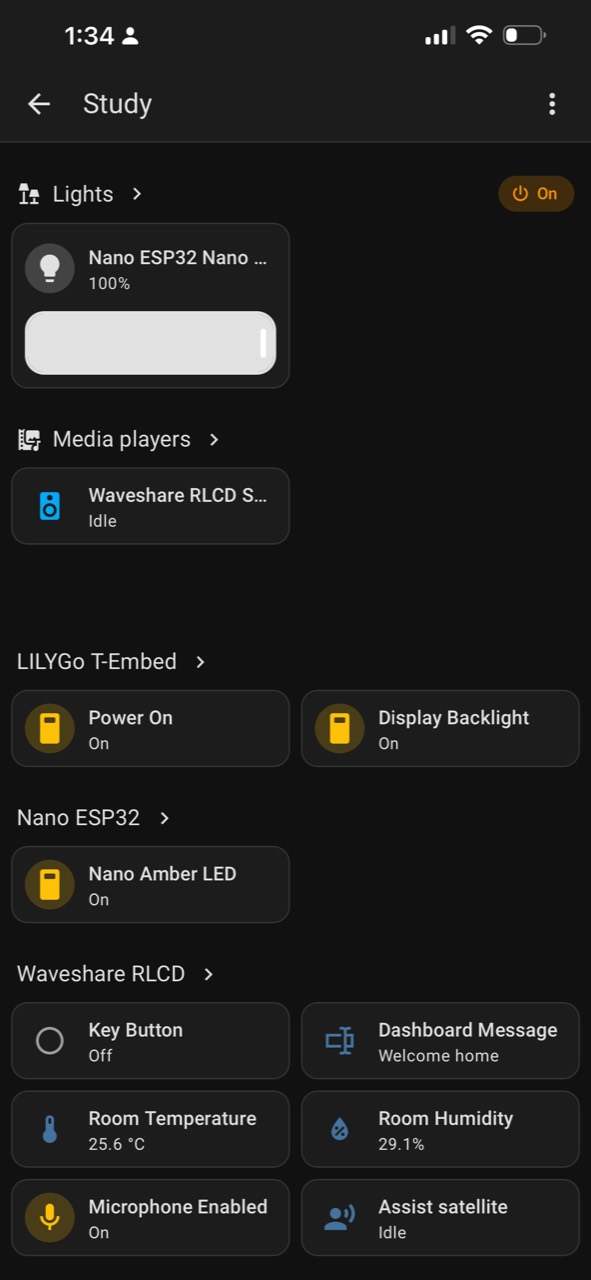
The three ESPHome projects in the Study area.
That screenshot captures why this has been fun. The boards came from different manufacturers, have very different hardware, and started as separate experiments. Home Assistant turns them into a coherent set of devices organised by the room where I use them.
I have collected all three files, plus a safe example secrets file, in the ESPHome project directory. The published configurations use !secret references for Wi-Fi credentials, API encryption keys, OTA passwords and fallback-hotspot passwords. Real credentials do not belong in a public repository.
More on these projects later
I will do a deeper dive into these three ESPHome projects in a future post, including what I learned about the displays, rotary controls, audio pipeline and voice-assistant behaviour. The source files are available now for anyone who wants to explore them.
The next board needs MQTT
These projects also made me curious about the path underneath ESPHome's convenient integration. The Arduino UNO R4 WiFi has an ESP32-S3 onboard, but the normal Arduino sketch runs on its Renesas RA4M1 processor and uses the ESP32-S3 as a connectivity coprocessor. It is a different architecture from the three ESPHome devices above.
In Connecting an Arduino UNO R4 WiFi to Home Assistant with MQTT, I use ArduinoMqttClient and Home Assistant MQTT discovery to expose the UNO's onboard LED, 12 × 8 matrix, Wi-Fi signal and uptime.
ESPHome remains the fastest route I have found from a supported ESP32 board to a useful Home Assistant device. More importantly, it makes experimentation cheap: start with a light or a clock, learn one new part of the board, and let the project grow from there.